Seedling Cultivation Guide for Caudex Plants: Management Schedule from Germination Through Year Two
Explains the management methods for growing caudex plants from seed (seedling cultivation). Covers seed sourcing and sterilization, sowing, bottom watering after germination, light acclimation in early summer, and detailed fertilization schedules for years one and two.
Key Takeaways
Explains the management methods for growing caudex plants from seed (seedling cultivation). Covers seed sourcing and sterilization, sowing, bottom watering after germination, light acclimation in early summer, and detailed fertilization schedules for years one and two.
Related Species
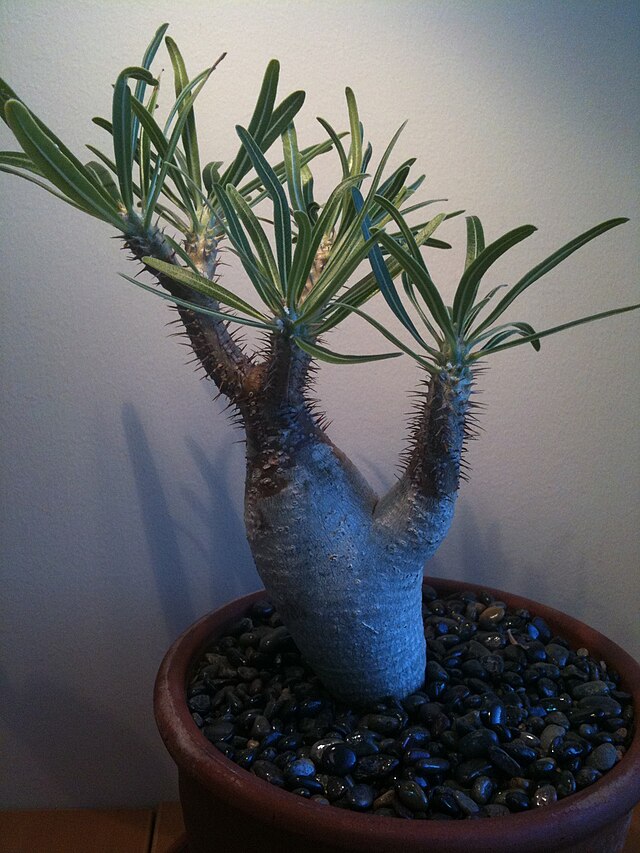
The Charm of Seedling Cultivation: A Special Experience Growing from Seed
Growing caudex plants from seed is a completely different and special experience compared to cultivating purchased plants. The excitement of germination, the joy of watching the caudex gradually swell, and the pleasure of imagining what the plant will look like ten years from now—these are experiences unique to seedling cultivation.
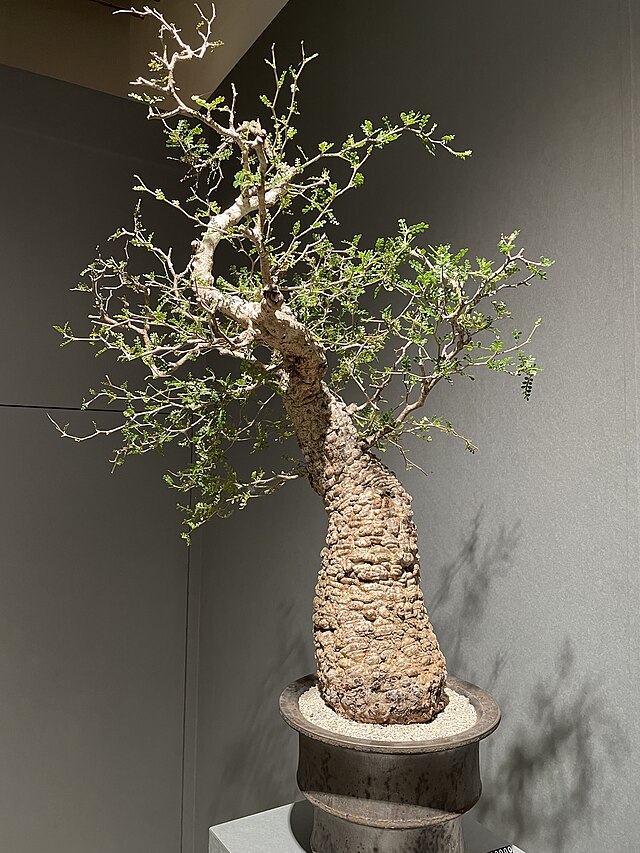
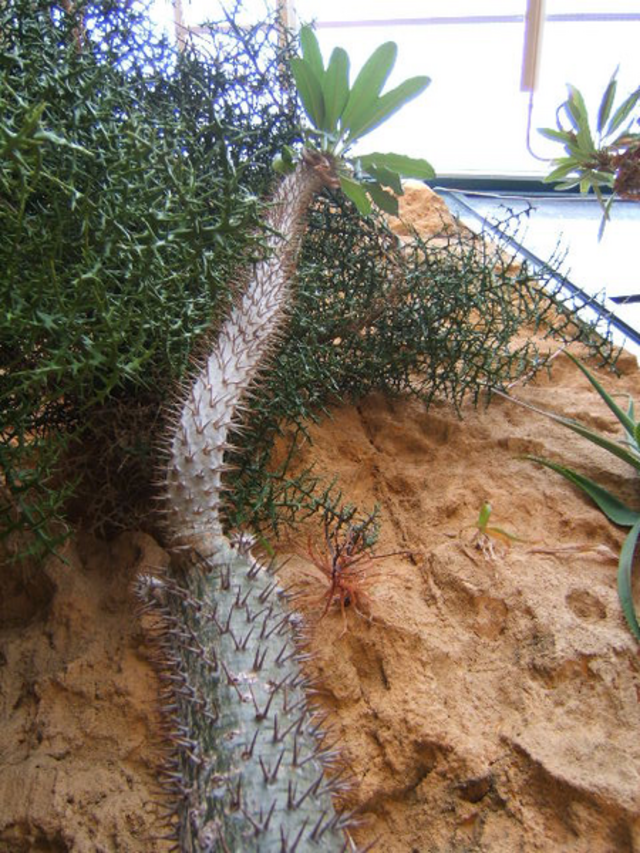
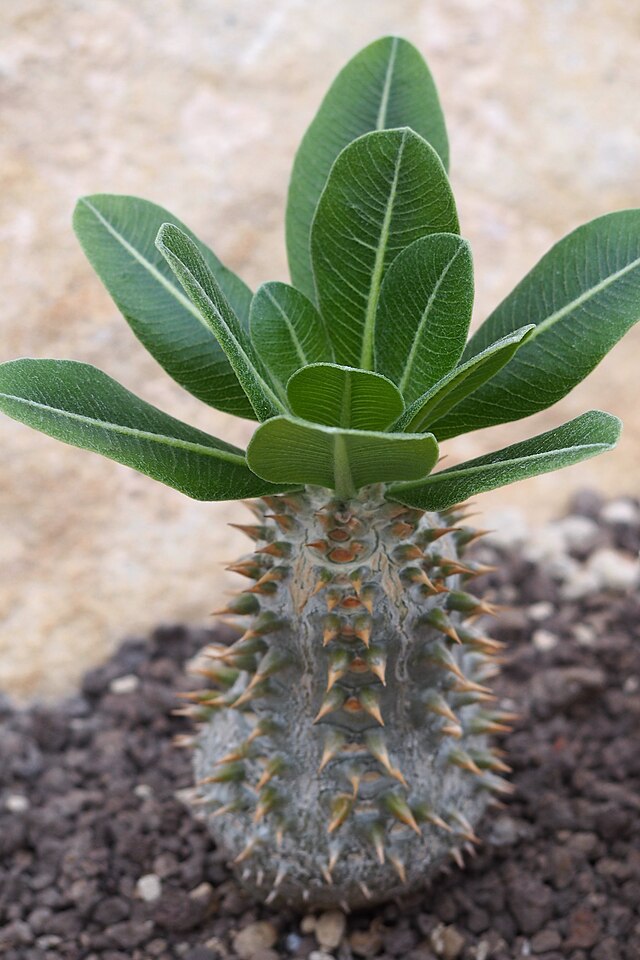
Seedling-grown plants have strengths that wild-collected specimens lack. Wild-collected plants often suffer root damage from the stress of transport and repotting, requiring experienced care. In contrast, seedling-grown plants are nurtured in the Japanese climate and cultivation environment from the start, resulting in long-term health and significantly lower prices. Popular species like Operculicarya pachypus and Pachypodium gracilius can sometimes be obtained from seedlings at a fraction of the price of wild-collected specimens. If you're uncertain about which species to choose as a beginner, checking 15 Recommended Caudex Plants for Beginners will help you get an idea of easy-to-grow representative species.
Seed Sourcing and Preparation Before Sowing
Reliable Sources and Freshness Verification
The success of seedling cultivation depends heavily on seed quality. Seeds with poor freshness show significantly reduced germination rates, so it is important to source seeds from reliable vendors with clearly marked collection dates.
- Domestic specialty nurseries and growers: Quality is stable and you can easily receive after-sales support
- Direct imports from overseas nurseries: Plant quarantine inspections are required under the Plant Protection Act. Even seeds may require phytosanitary certificates, so verify regulations before purchasing
- Secondhand marketplaces and private transactions: Collection dates and variety accuracy are often unclear; not recommended for beginners
Ideal seed storage uses airtight containers with silica gel, kept in the refrigerator vegetable compartment (10–15°C, humidity below 40%). With proper management, most seeds retain germination viability for one to two years, but some species like Pachypodium gracilius and P. densiflorum lose viability quickly, so sow as soon as possible after obtaining them.
Sowing Timing and Soil Selection
The optimal sowing window is late April through early July. Sowing when the minimum temperature reliably exceeds 20°C enhances germination rates and ensures sufficient light and warmth during the summer growth period.
Potting mix prioritizes drainage and aeration. One example formula:
- Pumice (small grade): 40%
- Kanuma soil (fine grade): 30%
- Red volcanic soil (fine grade): 20%
- Vermiculite: 10%
Commercial succulent mixes are also available, but products with high organic matter content tend to develop fungus, so if using them, mix in pumice to adjust.
Sowing Procedure: From Sterilization to Bottom Watering
Seed Pretreatment
- Sterilization: Fungus is one of the leading causes of seedling failure. If disinfecting seeds, apply Orthocide 80 WP (registered for flowers and ornamental foliage plants) at 0.2–0.4% of seed weight via seed coating (seed dust treatment). Benlate T is a disinfectant for seeds and seed tubers of rice, wheat, and vegetables, and immersion of caudex plant seeds in a 1000× dilution is not specified on the label.
- Hydration treatment (optional): Soaking in warm water at 36–40°C for 12–24 hours may improve germination rates for species with hard seed coats, such as Pachypodium gracilius and P. winsorii. Seeds that swell after soaking are proof of viability.
Sowing Procedure
- Fill clean seedling trays or cell trays with moistened potting mix
- Space seeds 1–2 cm apart; soil covering should be approximately the same thickness as the seed (1–2 mm) or sown without covering
- Cover the entire tray with plastic wrap or a lid to maintain humidity, keeping the mix at 25–30°C
- Place the tray in a water-filled saucer and use bottom watering to keep the soil consistently moist
Germination takes three to fourteen days for Pachypodium gracilius and over a month for Pachypodium ebreneum and some Dioscorea species. Continue observing patiently.
Source: MAFF Pesticide Registration Database (Orthocide 80 WP)
Early Management: Germination Through 3 Months
Light, Temperature, and Water Management
Immediately after germination, avoid direct sunlight until the cotyledons unfold, placing seedlings in bright shade or under 30–50% shade cloth. Once the first one or two true leaves expand and roots are established, gradually increase light exposure. Sudden exposure to summer direct sunlight causes leaf scorch, so acclimate gradually over two to three weeks.
Bottom watering should continue for three to six months after germination. Aim for a water level of 1–2 cm; refill when the saucer dries completely. During the hot summer months, water degrades quickly, so change it once weekly.
Fertilization
After one month from germination, apply diluted liquid fertilizer (such as Hyponex, at half to one-quarter the recommended strength) one to two times monthly, mixing it into the bottom water. Excessive nitrogen promotes elongation and delays caudex development, so select a fertilizer with a higher phosphorus-to-potassium ratio. For more detailed species-by-species fertilization schedules, see Caudex Plant Fertilization Guide.
Year One to Two Management Schedule and Transitioning from Bottom Watering
Timing for Ending Bottom Watering
Stop bottom watering at approximately three to six months after sowing, when roots emerge from the pot drainage holes or the plant becomes self-supporting. Abruptly stopping bottom watering can weaken roots before they adapt to drier conditions, so follow this gradual transition:
- Lower the water level in the saucer each week (2 cm → 1 cm → 0.5 cm)
- Acclimate to watering only after the saucer has been dry for one to two days
- Gradually shift to the standard adult plant schedule: thorough watering from above two to three days after the soil surface dries
Repotting and Pot Selection
Perform the first repotting in autumn of year one through spring of year two. Caudex plants dislike root disturbance, so move the root ball with minimal disruption into a pot one size larger. Terracotta and mesh pots offer superior aeration and reduce root rot risk.
Many species show robust growth beginning in year two; in Pachypodium gracilius, for example, the caudex visibly begins to swell. From this point, shift to the season-based management of mature plants: provide strong light during summer for growth and keep the plant dormant in winter at minimum temperatures above 10°C with no water. As the plant matures, you can try Complete Caudex Propagation Guide to explore leaf cuttings and further propagation. Those interested in creating custom specimens in the future may also find Caudex Plant Hybridization and Hybrid Introduction helpful.
Summary: Long-term Enjoyment Is the Heart of Seedling Cultivation
Seedling cultivation allows you to successfully grow many species into young plants by carefully following the sequence: sterilization → bottom watering germination → gradual transition to mature plant management. Year one focuses on germination and seedling establishment; year two, on ending bottom watering and caudex development; and year three onward, on full mature plant care with progressive stages.
The deepest charm of seedling cultivation—a connection that commercial plants can never provide—is raising a plant "from zero." Though time-consuming, that investment creates an incomparable attachment to the finished specimen. Without rushing, keep records, and enjoy seedling cultivation for the long term in 2026 as well.