When Is the Right Time to Repot Orchids? Optimal Timing by Type, Selection Criteria, and Procedures
Timing and judgment are key to orchid repotting. This guide explains the signs for repotting, optimal timing, and procedures for popular types including Phalaenopsis, Cattleya, Dendrobium, and Oncidium.
Key Takeaways
Timing and judgment are key to orchid repotting. This guide explains the signs for repotting, optimal timing, and procedures for popular types including Phalaenopsis, Cattleya, Dendrobium, and Oncidium.
Related Species


Why Orchid Repotting Is Necessary
Many people might think that once an orchid is potted, it's fine to leave it as is for years. However, in reality, regular repotting is an essential task for maintaining orchid health.
Most orchids are called "epiphytic orchids," living naturally by attaching to tree trunks and rocks. When cultivated at home, we use sphagnum moss, bark, and pumice as growing media, but these degrade within 1–3 years and the balance of drainage and water retention deteriorates. For detailed comparisons of the characteristics of each media type, see Orchid Potting Media Guide for reference when reselecting.
If repotting is neglected, the following problems occur:
- Root rot
- Stunted growth of new shoots and roots
- Reduced flower count
- Overall decline of the plant
Conversely, if repotted at the right time, orchids can be enjoyed for many years to come.
Signs That Repotting Is Needed
If you notice any of the following signs, consider repotting.
1. Deteriorated Growing Media
If sphagnum moss has turned black, bark has crumbled into powder, or white mold has appeared—these are signs of media deterioration. Drainage is compromised and the risk of root rot increases.
2. Roots Overflowing from the Pot
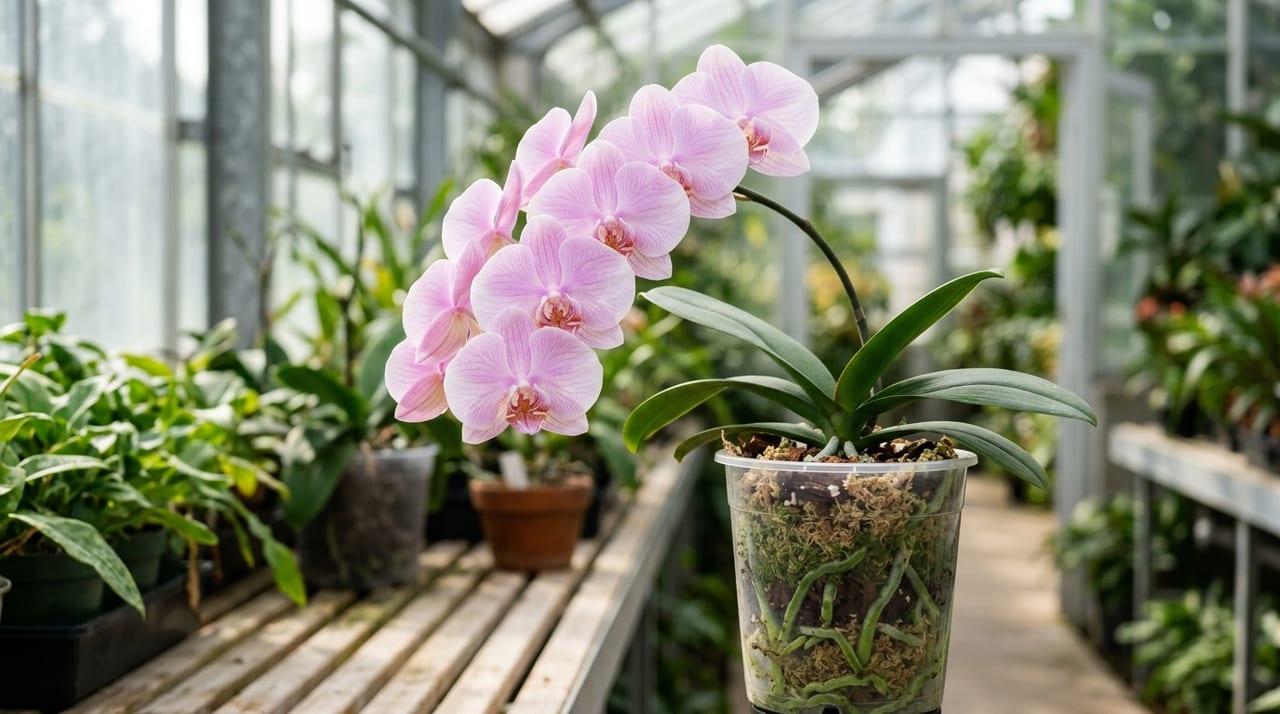
While many orchids produce aerial roots outside the pot, if the roots inside the pot have also expanded to overflow, it's a sign for repotting. With clear pots, you can see the roots completely filling the pot wall. For detailed checks of root condition, Orchid Root Care is also helpful.
3. Weak New Growth or Flower Spikes
If new growth is weak or flowering is poor despite proper care, these are also signs to consider repotting. The root environment may have deteriorated.
4. 2–3 Years Since Last Repotting
Even without obvious problems, regular repotting (once every 2–3 years) is recommended for maintaining health.
Optimal Repotting Timing
The ideal time to repot orchids is "just before the growth season begins." The optimal timing for each type is as follows:
Phalaenopsis (Phalaenopsis)
- Optimal period: After flowering (around May–June)
- Note: Cut the flower spike after flowering ends, just before new leaves begin to unfold
Phalaenopsis begins to produce new roots after flowering, so repotting at this time allows the plant to recover quickly from root damage.
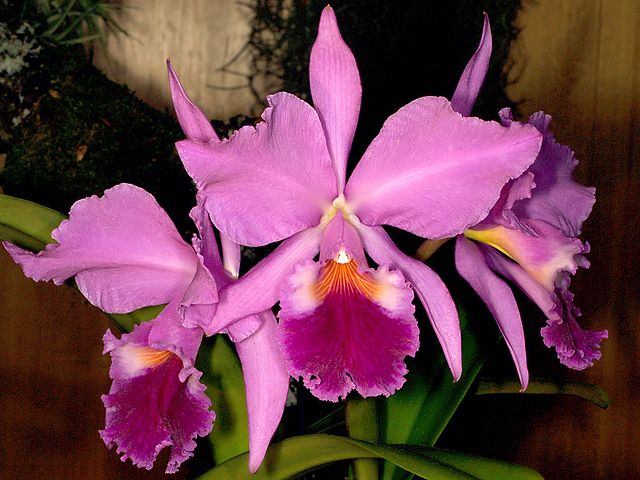
Cattleya (Cattleya)
- Optimal period: When new shoots have grown to 5–10 cm (spring to early summer)
- Note: When new roots are beginning to emerge from the base of new shoots
Cattleya has pseudobulbs called "bulbs," and repotting in sync with new shoot growth ensures smooth establishment. For overall care of each plant, see Complete Cattleya Care Guide.
Dendrobium (Dendrobium)
- Optimal period: Spring, just before new shoots begin to break
- Note: Varies by variety, but generally after dormancy ends post-flowering
Since Nobile and Dendrobium sections differ subtly, check variety information at Complete Dendrobium Care Guide.
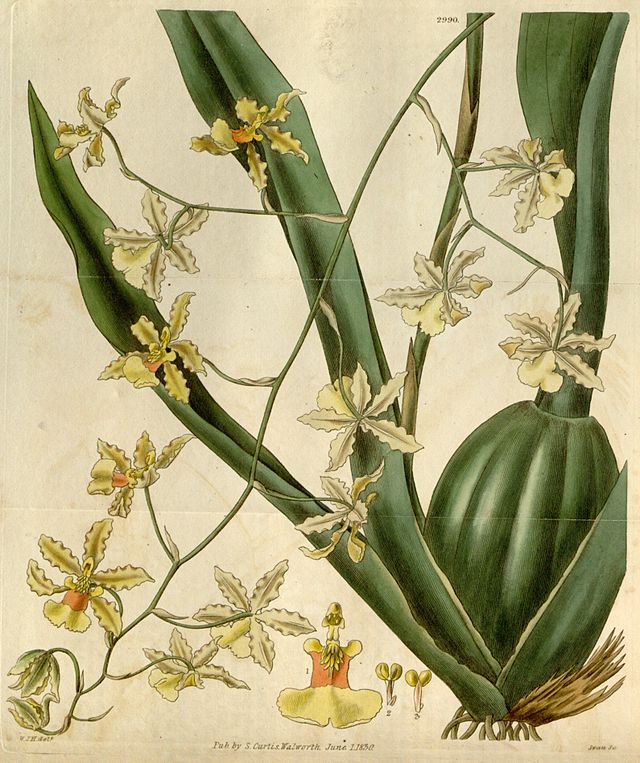
Oncidium (Oncidium)
- Optimal period: When new shoots begin to appear (spring)
- Note: Preferably completed before new roots emerge
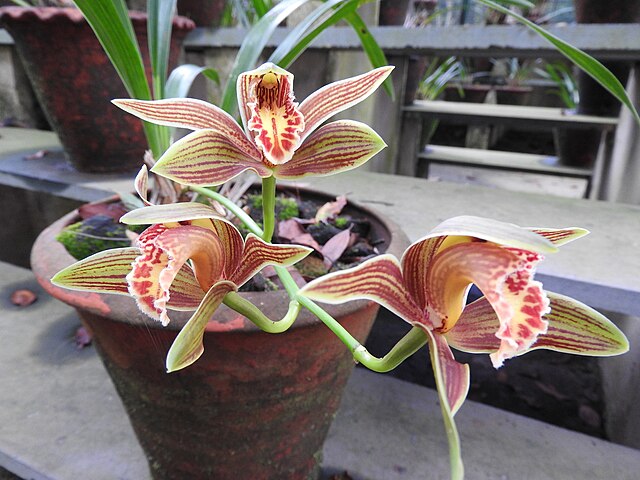
Cymbidium (Cymbidium)
- Optimal period: After flowering (March–May)
- Note: Roots spread widely, so choose a pot with ample space
Repotting Procedures
Here we explain repotting procedures using Phalaenopsis as an example.
1. Materials Needed
- New pot (clear slotted pots are easiest to manage)
- Fresh sphagnum moss or bark
- Scissors (sterilized with hot water or flame)
- Newspaper, rubber gloves
2. Remove the Plant from the Pot
Gently squeeze and massage the pot while carefully removing the plant. If roots are firmly attached to the pot, break the pot if necessary rather than forcing it.
3. Remove Old Media
Use your fingertips or a toothpick to remove old sphagnum moss or bark from between the roots. It's not necessary to remove all of it—just remove what comes off easily.
4. Prune the Roots
- Black, rotted roots
- Brown, withered roots
- Broken or damaged roots
Cut these away with sterilized scissors. Retain healthy green to grayish-white roots.
5. Pot with Fresh Media
- For sphagnum moss: Thoroughly wet it, wring out gently, then pack it into the pot to envelop the roots
- For bark: Use large pieces at the pot bottom and medium to small pieces at the top
It's important to secure the plant firmly so it doesn't wobble. Media combinations are detailed by type at Orchid Repotting Media Selection.
6. Post-Repotting Care
Pay attention to the following immediately after repotting:
- Water sparingly for one week
- Avoid direct sun; place in bright shade
- Do not fertilize for 2–3 weeks
- Supplement humidity with foliar misting
It takes about one month for new roots to begin developing. For guidance on when to resume fertilizing, see Complete Orchid Fertilizer Guide, and check it after roots have settled.
Avoiding Repotting Mistakes
Here are common beginner mistakes and how to avoid them:
- Pot too large: Oversized pots lead to overwatering
- Removing all old roots: This damages healthy roots too
- Overpacking sphagnum moss: Reduces drainage
- Heavy watering right after repotting: Promotes rot at cut root surfaces
- Fertilizing immediately after repotting: Roots can't absorb it and may promote rot
Orchid repotting is not difficult once you're familiar with it. If you keep "timing, gentleness, and cleanliness" in mind, your cherished orchids will continue to produce beautiful flowers for years to come, in 2026 and beyond.