Succulent Arrangement Design Guide | Color Schemes, Shapes, and How to Choose Containers and Create Arrangements
This guide explains the fundamentals of color schemes, shape balance, and container selection tips for creating beautiful succulent arrangements. From basic combinations that beginners can easily make to professional-level arrangement techniques that also work great as gifts, we provide detailed guidance.
Key Takeaways
This guide explains the fundamentals of color schemes, shape balance, and container selection tips for creating beautiful succulent arrangements. From basic combinations that beginners can easily make to professional-level arrangement techniques that also work great as gifts, we provide detailed guidance.
Related Species
How Arrangements Maximize the Appeal of Succulents
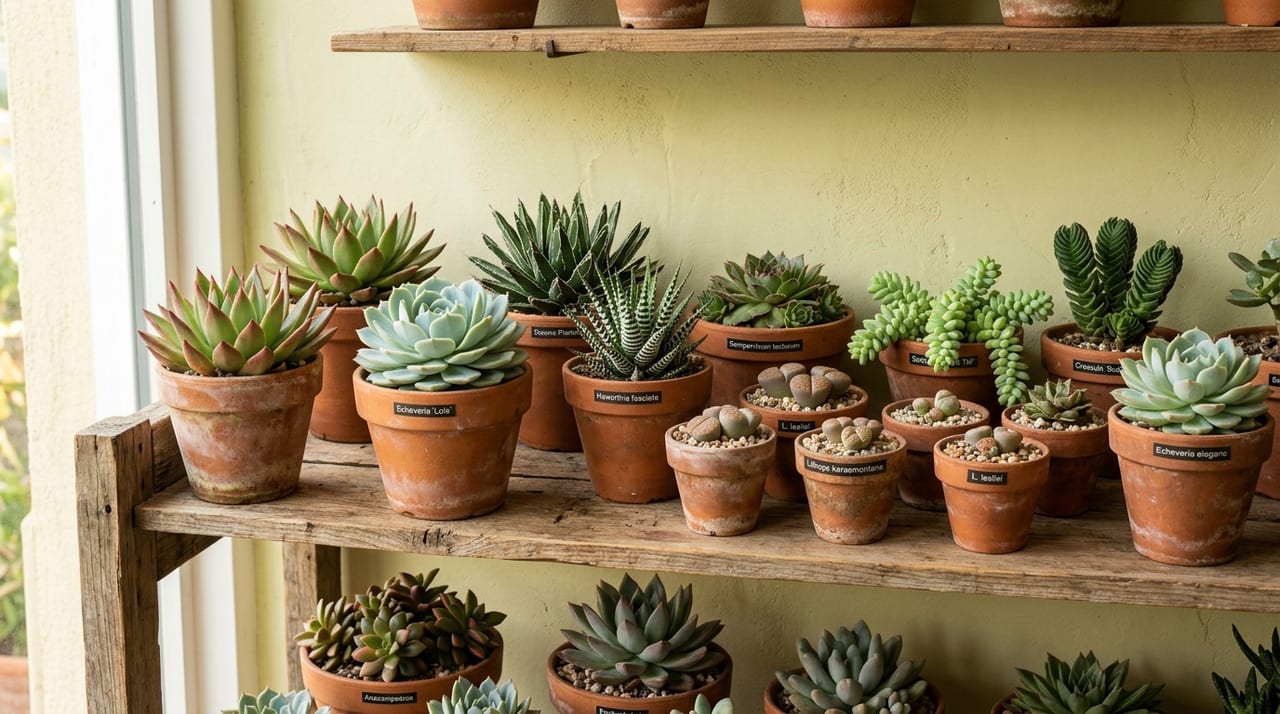
One of the greatest charms of succulents is the "freedom of combination." Individual plants that may look unremarkable in a single pot transform into breathtaking works of art when paired with varieties of different colors, shapes, and sizes. Gradations and three-dimensionality that cannot be expressed with a single specimen are the true magic of arrangement gardening.
Arrangements are also extremely popular as gifts and represent a high-value-added product for growers and retailers. By proposing original creations suited to special occasions—birthdays, weddings, store openings—you can offer customers something entirely different from single-plant sales. This article systematically explains everything from color schemes and shape selection to container choices and planting techniques that even beginners can master.
Design Fundamentals: Thinking About Color Schemes
Color scheme design for succulents, like interior design and painting, is built on color theory principles.
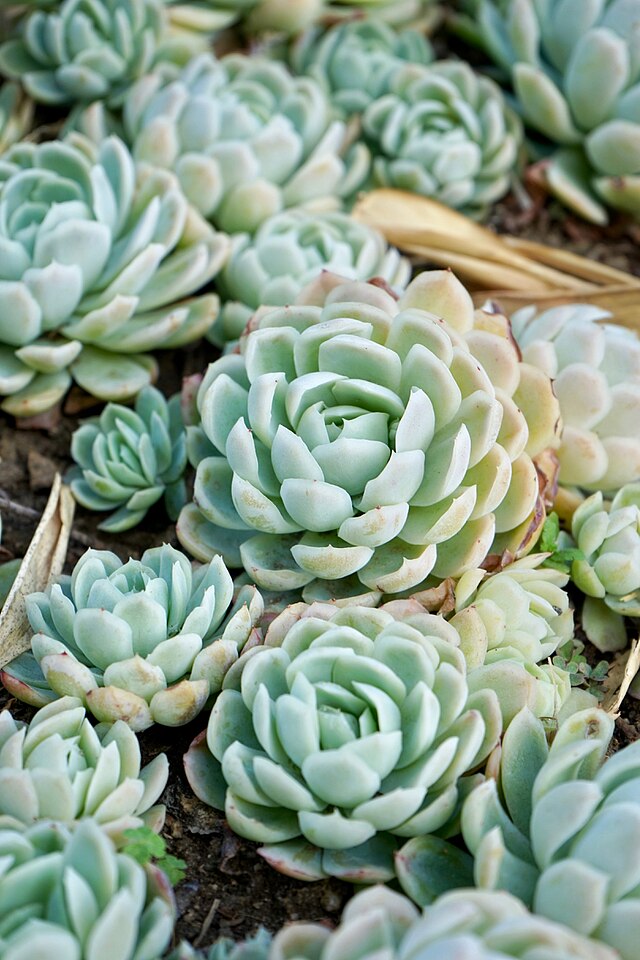
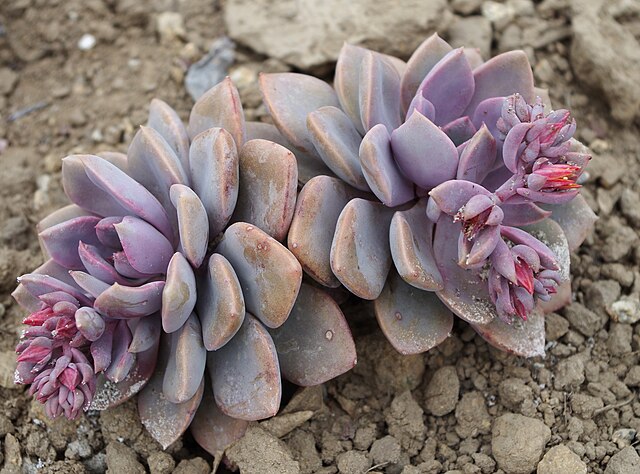
Coordinating with Similar Colors (Monochrome & Gradation) Arranging plants in the same color family—greens, grays, pinks—creates a harmonious, unified composition. For example, pairing Blue Bean, Echeveria, and Graptopetalum creates a bluish-tinted silvery-green gradation. This approach is beginner-friendly and rarely fails; it blends beautifully into Scandinavian interiors and modern Japanese spaces.
Using Complementary Colors (Contrast) Combining opposite sides of the color wheel—green and red, blue-tinted gray and orange—creates vibrant, high-impact impressions. Pairing autumn-colored Sedum dasyphyllum with the blue-green Echeveria laui produces a dynamic composition where contrast shifts with seasonal changes. For tips on maximizing color development during autumn foliage, see Succulent Autumn Foliage and Color Development Techniques.
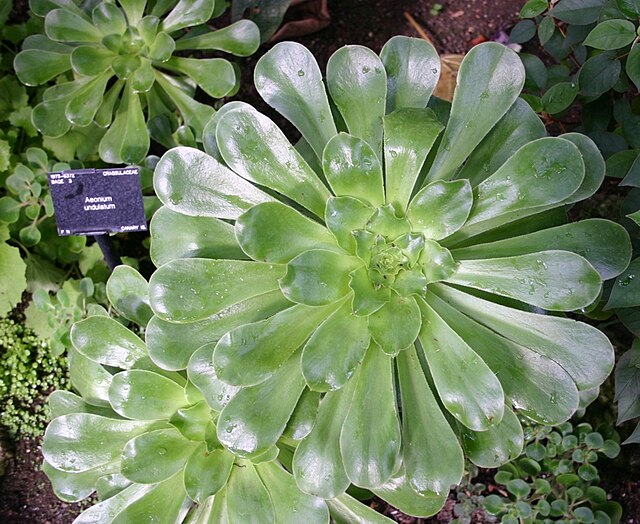
Adding an Accent Color (Focal Point) Keeping the overall composition in soft tones while introducing one or two plants in deep or vivid colors naturally draws the eye and creates visual interest. For instance, using silvery Echeveria as the main feature and adding just one Black Rose (Aeonium) creates an arrangement with striking depth.
Shape Balance: Combining Height and Texture
Beautiful arrangements succeed or fail based on "height variation" and "textural contrast." No matter how good the colors, uniformity in height and shape leads to monotony.
Creating Height Variation (Three-Tier Composition) The classic approach places tall Agave or vertical Sedum varieties in the back, Echeveria or Graptopetalum in the middle, and trailing Sedum rubens or Haworthia species in the front. Allowing plants to slightly overhang the pot rim ensures an attractive silhouette from the side. This attention to detail significantly improves the overall finish.
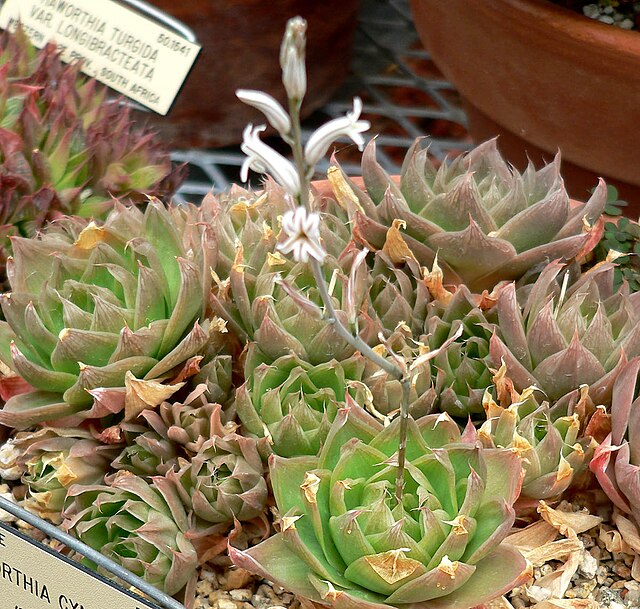
Textural Diversity Combine different textures: the fuzzy, delicate hairs of Echeveria carminea, the rough surface of Agave, the translucent windows of Haworthia, and the waxy sheen of Graptopetalum. Intentionally mixing varied textures creates tactile, three-dimensional appeal that invites touch.
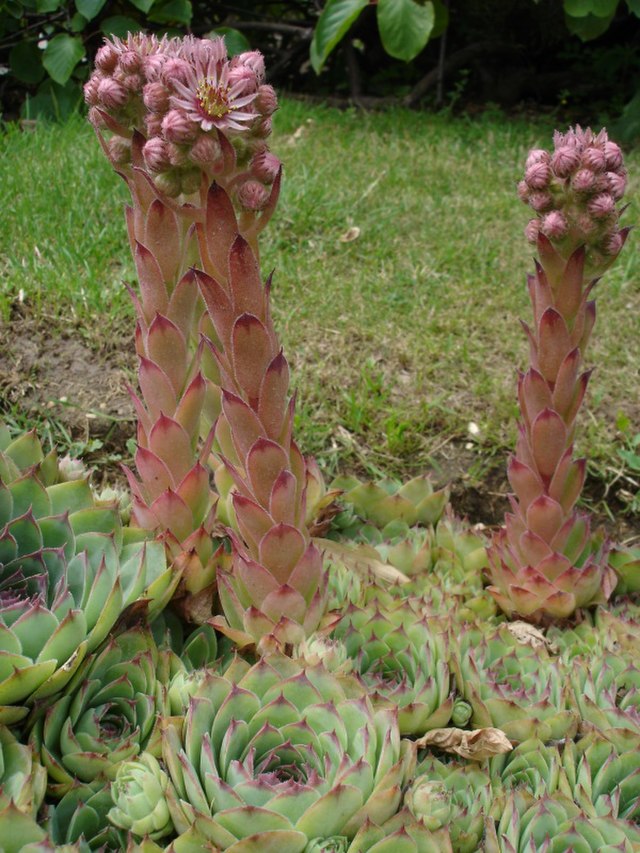
Shape Contrast Varying plant forms—rosette shapes (Echeveria), trailing forms (Sedum macratum), and upright forms (Sempervivum tectorum)—offers different visual interest from every angle. Arranging in odd numbers (3, 5, 7) is said to achieve better visual balance.
Container Selection Tips
The container is the "frame" of your artwork. Selecting materials and shapes that complement the plants' colors and atmosphere dramatically improves the final result.
Terracotta Pots Terracotta offers excellent breathability and remains the most suitable material for succulents. It minimizes root rot and simplifies care, though the rapid water evaporation requires attention during hot summers. As terracotta ages, it develops white mineral deposits and moss, creating an antique aesthetic perfect for natural or rustic interiors.
Wooden Boxes and Slate Plates These materials are popular for gift-oriented arrangements with a natural aesthetic. Treated wooden boxes and wood slabs create appealing, market-ready finishes. Drill drainage holes in the bottom or ensure thick gravel drainage layers to maintain proper water management.
Glass Containers and Wide, Shallow Dishes Sealed terrariums lack the airflow succulents need, but open glass vessels with wide mouths are stunning for display and enjoyment. They work wonderfully as living centerpieces for coffee tables or as photography backdrops.
Concrete and Cement Pots These work beautifully with industrial and modern design aesthetics, blending seamlessly into urban interiors. Many growers enjoy handmaking cement containers to add unique, personal touches. Their weight provides stability for larger arrangements.
Step-by-Step Arrangement Instructions
Prepare all tools in advance for smooth workflow. You'll need succulent-specific potting soil, small gravel (for drainage), decorative sand, tweezers, bamboo picks, and a dropper.
- Remove all succulents from their pots and gently brush away excess soil from the roots. Trim any dead or damaged roots.
- Verify your container has drainage holes. If not, create a pseudo-drainage layer by placing 3-4 cm of gravel at the bottom.
- Fill the container halfway with well-draining succulent soil. To make your own mix, combine small-grain red lava soil (6 parts), pumice soil (2 parts), and perlite (2 parts).
- Starting with taller plants, arrange them roughly in place and verify overall balance before adding more soil to secure them. You can adjust at this stage.
- Use tweezers to nestle smaller plants into gaps, then fill spaces with decorative sand, pebbles, or colored stones.
- Add finishing touches like moss, shells, or small stones to reinforce your design theme.
- Wait 2-3 days after planting before watering, then give the roots a light drink from a dropper once they've established.
Display the finished arrangement in bright, indirect light. Water once weekly during spring and autumn, and once or twice monthly during summer and winter. For winter care and cold protection tips, see Succulent Winter Care and Cold Protection Guide.
Seasonal Maintenance and Sales Ideas
An arrangement is not a finished moment—it's a living creation that grows and transforms over time. Spring growth produces new shoots, and autumn brings color changes. Regular maintenance lets you fully enjoy these seasonal changes.
Cut back leggy growth and use cuttings as material for new arrangements. When smaller plants grow larger, move them to individual pots to shine as focal plants. This cycle—where one arrangement becomes the material for the next—is the true joy of succulent production.
For commercial or gift applications, consider launching seasonal series (spring's fresh green arrangements, autumn's russet-toned displays) to build a loyal customer base. On social media, sharing before-and-after photos of your creation process drives engagement and strengthens your brand. When sourcing premium specimens, shopping the botachoku Succulent Category to hand-select quality plants directly from growers is highly recommended.